DIY Guide to Replacing Nintendo Switch Parts: Step‑by‑Step Tutorial
This guide to replacing Nintendo Switch parts walks you through real, hands‑on repairs in a clear, tutorial style. You will learn how to plan a repair, open the console safely, swap common parts like the battery and fan, and put everything back together without guesswork.
The steps here focus on safe DIY repair. The goal is to help you fix a failing Switch instead of throwing it away, while also understanding what you should and should not attempt at home.
1. Planning Your Nintendo Switch Repair
Before you pick up a screwdriver, spend a few minutes planning the repair. A short checklist at the start can prevent broken clips, lost screws, and half‑finished projects.
Decide which part you want to replace, look up a matching replacement part, and read through the full process once. This overview helps you spot any missing tools or steps that feel outside your comfort zone.
Choosing parts and repair difficulty
Common DIY jobs include Joy‑Con stick swaps, battery replacement, fan replacement, and basic cleaning. Screen replacement and deep board work are harder and carry more risk.
Match the repair to your skill level. If you have never opened electronics before, start with Joy‑Con sticks or fan replacement before trying a full screen swap.
2. Before You Start Any Nintendo Switch Repair
Good preparation makes every repair easier and safer. Set up a clean, flat workspace with bright lighting and enough room for tools and parts.
Work on a table, not on carpet or a bed, to lower static risk and keep small screws from vanishing into fabric.
Tools and parts you will usually need
You do not need a full workshop, but you do need the right basic tools. Using the wrong driver or a sharp metal tool can strip screws or crack plastic parts.
- Precision screwdriver set (Tri‑wing Y00 and small Phillips)
- Plastic spudger or opening pick
- Small tweezers for ribbon cables and tiny screws
- Magnetic screw mat or small containers to sort screws
- Replacement part (battery, Joy‑Con stick, fan, screen module, etc.)
- Isopropyl alcohol and a microfiber cloth for cleaning
Keep every screw grouped by location. Tiny parts matter; mixing them up can cause problems later or stop the shell from closing correctly.
3. Safety Basics: Power, Static, and Warranty
Always power down the Switch fully before repair. Hold the power button, choose Power Options, then Turn Off. Remove game cards and microSD cards as well.
If the console is still under warranty, opening the case can void that coverage. Check your purchase date and any service terms before you decide to open the device.
Static and battery safety
Ground yourself by touching a metal object, and avoid working on carpet or near blankets. Static shocks can harm the board and other sensitive parts.
Never bend, puncture, or heat the battery. If you see swelling or damage, stop and handle it with care, and keep the battery away from sharp tools and heat sources.
4. Opening the Nintendo Switch Console
Almost every internal repair starts the same way: remove the back cover. Take your time here, because cracked plastic or stripped screws are hard to undo.
Use the correct Tri‑wing and Phillips drivers, press firmly into each screw, and turn slowly so the screw heads stay intact.
Step‑by‑step: removing the back cover
Follow these steps slowly and keep track of each screw group as you go. Place each group in its own spot or container.
- Power off the Switch and remove Joy‑Cons, game card, and microSD card.
- Use a Tri‑wing driver to remove the four back screws, one in each corner.
- Remove the two screws on the top edge and the two on the bottom edge.
- Unscrew the small Phillips screws near the kickstand and around the USB‑C port.
- Gently lift the back cover starting from a corner; use a plastic pick if needed.
- Set the cover aside and note screw sizes and locations for reassembly.
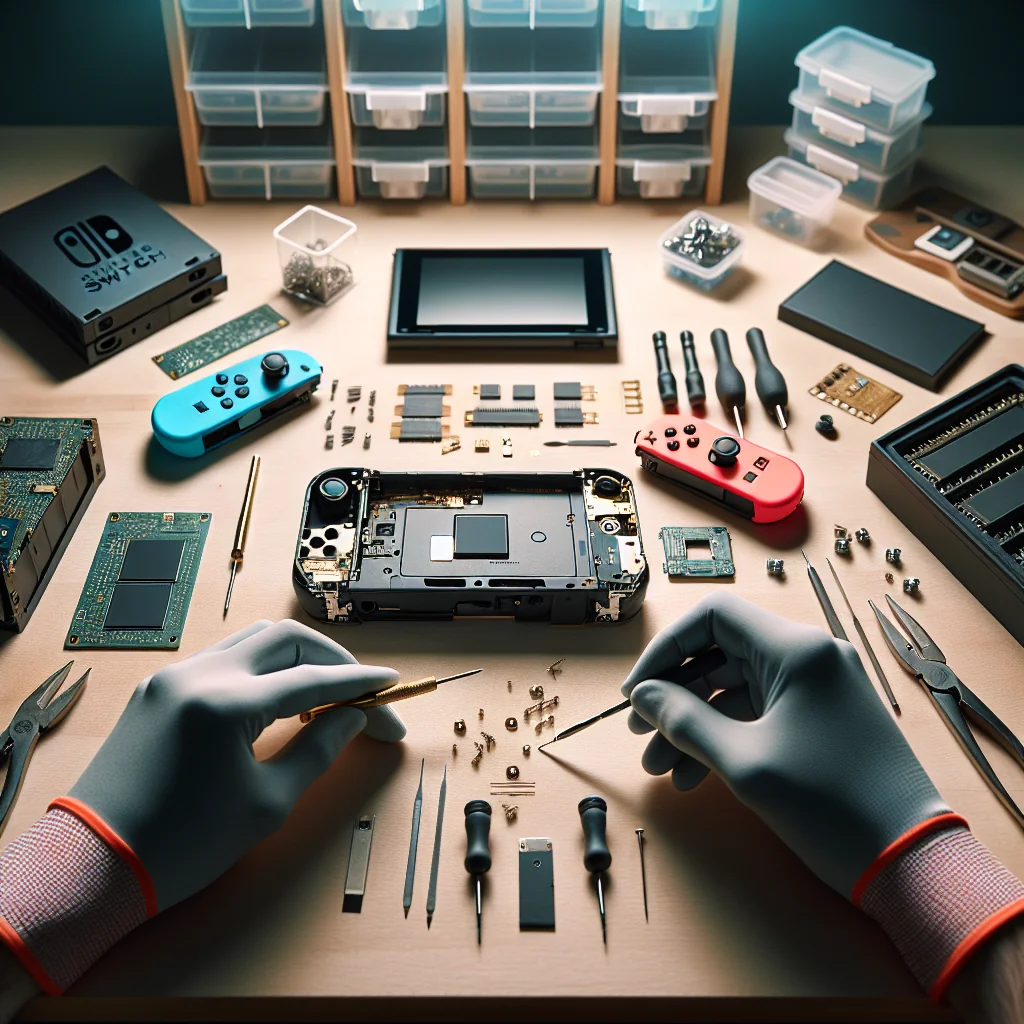
Once open, you will see a metal shield, battery, fan, and card readers. Take a clear photo now; a reference picture makes reassembly easier later.
Summary of common Nintendo Switch DIY repairs and their difficulty:
| Repair Type | Typical Difficulty | Main Tools Needed | Main Risks |
|---|---|---|---|
| Joy‑Con analog stick replacement | Easy to moderate | Tri‑wing, small Phillips, spudger, tweezers | Damaging ribbon cables, losing small screws |
| Switch battery replacement | Moderate | Tri‑wing, Phillips, spudger, tweezers | Battery puncture, loose battery connector |
| Internal cooling fan replacement | Moderate | Tri‑wing, Phillips, spudger | Damaging fan cable, pinched wires on reassembly |
| Screen and digitizer replacement | Advanced | Precision drivers, spudger, heat source | Cracked glass, damaged display cable, dust under screen |
| Port and button cleaning | Easy | Brush, compressed air, alcohol, cloth | Bent pins in USB‑C port, liquid damage |
Use this table to pick a realistic first project. Start with easier jobs to build confidence before moving on to advanced repairs like a full screen swap.
5. Nintendo Switch Battery Replacement Tutorial
Nintendo Switch battery replacement is one of the most useful repairs you can learn. A fresh battery can help with fast draining, random shutdowns, and short handheld play time.
This repair is moderate difficulty. If you are comfortable with small screws and cable connectors, you can likely handle it with patience and care.
Steps to replace the Switch battery
Work slowly and avoid prying under the battery with anything sharp or metal. A plastic tool and steady pressure are safer choices.
- Remove the back cover using the earlier steps and set it aside.
- Unscrew and lift the metal shield to expose the motherboard and battery.
- Locate the battery connector and gently disconnect it using a plastic tool.
- Carefully pry the battery up from the adhesive, working around the edges.
- Lift the old battery out and place it aside on a non‑metal surface.
- Press the new battery into place and reconnect the battery connector.
- Reinstall the metal shield and screws, then close the back cover.
- Charge the Switch fully before heavy use to help the new battery settle.
If the Switch does not power on after replacement, recheck the battery connector and confirm that the shield and back cover are seated correctly.
6. Replacing Joy‑Con Analog Sticks
Drift or unresponsive movement is one of the most common Nintendo Switch issues. Replacing Joy‑Con sticks can restore smooth control and extend the life of your controllers.
Left and right Joy‑Cons open slightly differently, but the overall process is similar. The biggest risks are tight clips and thin ribbon cables, so work gently.
Key steps for Joy‑Con stick replacement
Open the Joy‑Con with a Tri‑wing driver, separate the halves carefully, and disconnect the battery. Then you can reach the stick module and its cable.
Unlock the stick’s ribbon cable, remove the old stick, and fit the new one in place. After reassembly, use the Switch settings to calibrate the new stick for accurate input.
7. Replacing the Internal Cooling Fan
A loud or stuck fan can cause overheating, loud noise, and shutdowns. Replacing the fan is a practical fix that can keep the Switch running cooler and more stable.
If you hear grinding, rattling, or the console gets hot quickly, the fan may need service. Always check that vents are clear of dust before assuming the fan has failed.
Fan replacement overview
After removing the back cover and metal shield, you will see the fan near the top edge of the console. The fan connects to the board with a small cable.
Disconnect the cable, unscrew the fan, lift it out, and place the new fan in the same orientation. Clean dust from vents with compressed air before closing the shell to help the new fan last longer.
8. Screen and Digitizer: When to DIY and When to Stop
Screen repairs are more advanced than most other Switch fixes. The Switch screen and touch layer are bonded together, so a full replacement often means swapping the entire module.
Cracks, black lines, or dead touch zones usually require a new screen assembly. Minor scratches that do not affect touch or image quality are mostly cosmetic.
Touch problems vs. display problems
A cracked panel with good touch and a clear picture is mainly a visual issue. Unresponsive touch with a fine display suggests that the digitizer layer is failing.
Full screen replacement usually requires heating adhesive and lifting glass, which is easy to damage. If that sounds too risky, consider a professional service instead of making this your first advanced repair.
9. Cleaning Ports, Buttons, and the Game Card Slot
Many “broken” parts are just dirty or clogged. Dust, pocket lint, and crumbs can cause poor charging, sticky buttons, and read errors in the game card slot.
Always try careful cleaning before you replace a part. A few minutes of cleaning can save money and reduce the chance of new problems.
Safe cleaning techniques
Use a soft brush and compressed air to clear vents and button gaps. Short bursts of air and gentle strokes work better than strong, constant pressure.
For the USB‑C port, use a wooden or plastic pick and light scraping motions. Do not spray liquid directly into the console; apply isopropyl alcohol to a cloth or cotton swab, then wipe carefully.
10. Testing Your Repair and Common Post‑Fix Checks
Once you close the Switch, test everything before you relax. A quick test can catch loose cables or missing screws while the repair is still fresh in your mind.
Test in handheld and docked modes if possible, and run a game that uses sound, graphics, and controls so you can check several parts at once.
What to check after replacing parts
Confirm that the Switch charges, boots, and holds charge as expected. Check Joy‑Con connection, stick movement, fan noise, touch response, and button feel.
If something feels off, reopen the console and check connectors, cable routing, and screw placement. Use your earlier photos as a guide so that every part returns to its original position.
11. Building Confidence for Future DIY Repairs
A Nintendo Switch repair is part of a wider DIY skill set for handling small electronics. Each successful repair builds your confidence for the next project.
Over time, you will start to see patterns in screws, clips, and connectors across many devices, which makes new repairs easier to understand.
Documentation, labels, and notes
Take photos at each stage, label screw groups, and write short notes about cable locations and shield order. These habits reduce stress and speed up reassembly.
With patience, the right tools, and careful steps, you can replace common Nintendo Switch parts safely and extend your console’s life instead of replacing it outright.