Easy iPhone Screen Repairs: Step‑by‑Step DIY Tutorial
Easy iPhone screen repairs are possible at home if you prepare well and work slowly. This tutorial walks you through safe iPhone screen replacements and common touch fixes, plus basic checks that help you decide when DIY is safe and when professional help is wiser.
Before Any DIY Repair: Tools, Safety, and Smart Limits
Good tools and a clear work area make every repair easier and safer. Before you touch an iPhone or any other device, slow down, plan the job, and think about your limits.
Basic setup for easier, safer repairs
Set up a simple, clean station before you start any DIY work. Use a small parts tray, bright light, and take photos as you remove screws so you can rebuild devices in the right order.
- Use the right screwdriver size to avoid stripping tiny screws.
- Power devices off and unplug them before starting any repair.
- Ground yourself on metal or use an anti‑static strap for electronics.
- Stop if you see smoke, smell burning, or feel unsure about wiring.
These habits keep small mistakes from turning into broken parts, shocks, or lost screws. A few extra minutes of setup often save hours of frustration later.
When DIY is fine and when to call a pro
Some jobs are safe for beginners, while others are better handled by trained technicians. Use this quick guide to decide how far your DIY repairs should go and where to draw a clear line.
DIY vs. professional repairs at a glance
| Type of repair | Usually safe for DIY | Best left to a professional |
|---|---|---|
| Basic electronics | Screen swaps, battery changes, simple part replacements | Board-level soldering, data recovery, unknown damage |
| Home electrical | Replacing bulbs, covers, simple plug-in devices | Wiring changes, breaker work, repeated tripping issues |
| Gas and plumbing | Changing shower heads, basic faucet fixes | Gas lines, main water lines, hidden leaks |
Respect your limits with gas, plumbing, and sealed systems. You can handle many small repairs yourself, but calling a pro for high‑risk jobs is still a smart DIY decision.
Fixing an Unresponsive Phone Screen Touch
An unresponsive iPhone screen can make even easy iPhone screen repairs feel impossible. Before assuming the display is broken, run through a few quick checks to rule out simple software or accessory problems.
Quick checks before you open the phone
Start with basic tests that do not risk damage or data loss. These steps help you see whether the touch issue comes from software, a case, or the screen hardware itself.
- Remove any screen protector and case, then test touch again.
- Clean the screen with a soft, dry cloth and dry your hands.
- Force-restart the iPhone and wait for it to fully boot.
- Check for iOS updates and install them if the screen works sometimes.
- Delete recent apps that may cause freezes or touch lag.
- Back up your data and perform a factory reset only if touch partly works.
If the screen responds after these steps, the issue was likely software or an accessory, not the display itself. If touch is still dead or only works in some areas, hardware is the more likely cause.
Hardware signs that point to a screen repair
Once basic checks fail, look for clues that the digitizer or display connector is damaged. These signs help you decide whether a DIY repair is realistic or if a technician is safer.
Common touch issues and likely causes
| Symptom | Likely Cause | Suggested Action |
|---|---|---|
| No touch response anywhere | Digitizer failure or loose screen connector | Open phone, reseat connector, or replace screen |
| Touch dead in one strip or corner | Partial digitizer damage | Screen replacement is usually required |
| Ghost touches or random taps | Cracked glass or damaged flex cable | Replace screen; avoid using for sensitive tasks |
| Screen flickers and ignores touch | Display or logic board issue | Try screen first, then seek board-level repair |
| Works only when the phone is bent or pressed | Broken solder joints or flexing board | Professional repair is safer than DIY |
If your symptoms match clear hardware failure, a screen swap is often the easiest iPhone screen repair. Signs of board damage or flex-related issues are a strong reason to use a trusted repair shop.
When to stop DIY and call a professional
DIY is fine for simple, repeatable problems, but some touch issues suggest deeper damage. Know where to stop so you do not turn a screen problem into data loss or a dead phone.
- Touch fails right after a hard drop or bend to the frame.
- The phone shows lines, colors, or black patches on the display.
- The phone has recent liquid damage or corrosion around the ports.
- Force-restarts and resets do not change the behavior at all.
- You see damage to small parts like the front camera or sensors.
If any of these apply, get a quote from a repair shop before opening the phone. A quick diagnosis can confirm whether a simple screen replacement will fix the issue or if you need deeper board-level work.
Simple Touch Troubleshooting Before Full Screen Replacement
An unresponsive phone screen is not always a broken display. Try a few more focused checks before planning full iPhone screen repairs or replacements.
Extra checks that can save a screen swap
Use these steps when touch works sometimes or only in certain areas. They help you confirm whether the digitizer is damaged or just confused by dirt, moisture, or software.
- Clean the screen with a soft, slightly damp microfiber cloth; remove cracked or lifting protectors.
- Restart the phone by powering it off fully, waiting 30 seconds, then turning it back on.
- Check for moisture; if the phone is damp, power it off and let it dry in a cool, airy place.
- Close all apps on iPhone or use safe mode on Android to rule out glitches.
- Update the operating system if touch issues started after an app or OS change.
- Back up your data; if touch works only sometimes, use that window to save your files.
- If the glass is cracked or touch fails across large areas, plan a screen replacement.
If touch works along some parts of the screen but not others, the digitizer may be damaged. That usually calls for full iPhone display replacement rather than a simple cleaning fix.
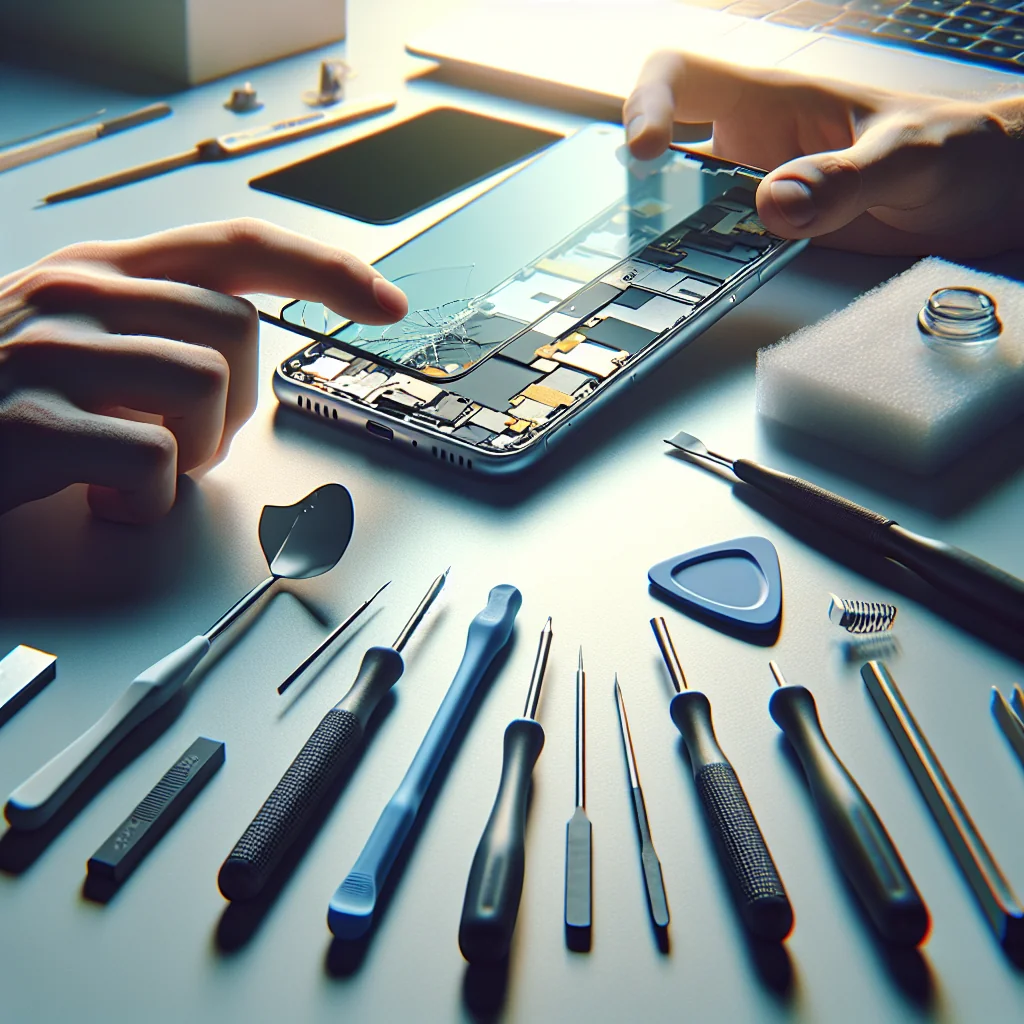
iPhone 14 Pro Max Screen Replacement: Key Steps
iPhone 14 Pro Max screen replacement is advanced DIY. The phone is sealed with strong adhesive and has sensitive cables, so move slowly and stay organized from the first screw to the last.
Core process for this advanced repair
First, back up your iPhone, power it off, and remove the two pentalobe screws near the charging port. Use a suction cup and plastic pick to gently lift the screen from the frame, starting at the bottom edge and working along the sides.
Open the display like a book from left to right, and support it so no cables stretch. Disconnect the battery connector first, then the display and sensor cables. Swap over any small parts from the old screen to the new one, then reconnect in reverse order and test before sealing the phone.
iPhone 15 Pro Max Screen Replacement: What Changes
iPhone 15 Pro Max screen replacement feels similar to the 14 Pro Max, but the internal layout and connectors can differ. Follow a guide made for this exact model so you do not pry in the wrong spot and cut a flex cable.
Model-specific details to watch
The same basic rules apply: back up data, power off, remove lower screws, and warm the edges to soften adhesive. Lift the screen slowly and never force a tool under metal shields or near visible cables, because hidden parts can tear easily.
Once you reconnect the new screen, test touch, brightness, and face sensors before pressing the display fully back into place. This avoids re‑opening the phone if something is not seated correctly.
iPhone 13 and iPhone XR Screen Replacement Basics
iPhone 13 screen replacement and iPhone XR screen replacement are popular DIY jobs. These models are slightly easier than the latest Pro Max phones but still require care and patience.
Shared tips for these mid‑range models
After removing the bottom screws and lifting the screen, keep track of different screw lengths on the internal shield plates. Mixing them can damage the logic board when you reassemble the device.
Transfer the front camera and sensor assembly from the old screen to the new one if needed. Always disconnect the battery first and reconnect it last so you do not short components while working.
How to Clean an iPhone Charging Port Safely
A dirty charging port can make your phone seem broken when it is only blocked by lint. Clean the port before you assume you need major iPhone screen repairs, a new battery, or a new cable.
Safe port cleaning technique
Power the phone off and use a wooden or plastic toothpick to gently scrape out debris. Work slowly and keep the tool flat to the back of the port, not digging into the pins or forcing anything.
Finish with a few short blasts of dry compressed air from a distance. Avoid metal tools, liquids, and sharp objects, which can damage the port or cause a short.
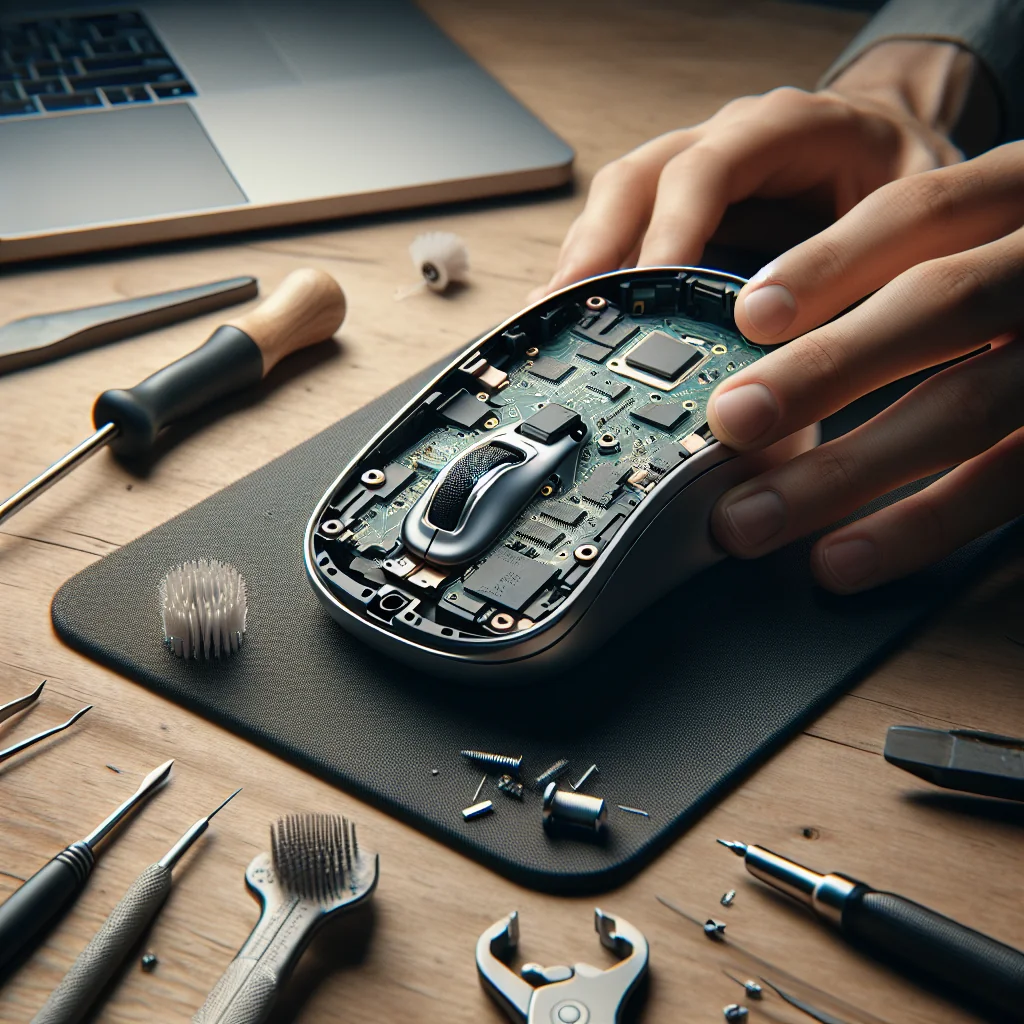
Quick Fixes for Sticky Keyboard Keys and Mouse Double‑Clicking
Many people who learn easy iPhone screen repairs also start fixing small computer issues. Sticky keys and double‑clicking mice are common problems that often have simple fixes.
Cleaning keyboards and calming jumpy mice
Sticky keyboard keys usually come from dust or spills. Turn the laptop or keyboard off, then hold it upside down and tap gently to shake out loose debris before using compressed air around problem keys.
Wipe the surface with a slightly damp cloth. For stubborn keys, pry the keycap off carefully and clean the mechanism with a cotton swab. For a mouse that double clicks on single presses, check software settings first, then open the mouse if possible and clean the main button switch or replace the mouse if the switch is worn out.
How to Clean a Laptop Fan and Plan Basic Laptop Repair
A loud laptop fan often signals dust buildup rather than a serious failure. Cleaning the fan can extend the life of the device and avoid overheating that slows performance.
Cooling fixes that pair well with phone repairs
Shut down the laptop, unplug it, and remove the bottom cover if the design allows. Hold the fan blades still with a plastic tool and blow dust out with compressed air so the fan does not spin wildly.
For deeper laptop repair, such as replacing a noisy fan or drive, follow a model‑specific guide. Always remove the battery if possible before touching internal parts to reduce the risk of short circuits.
Building Your DIY Repair Confidence
From easy iPhone screen repairs to washing machine tweaks, the mindset stays the same. Work slowly, stay organized, and stop when a job feels beyond your comfort level or skill.
Next steps after your first easy repair
Start with low‑risk fixes like cleaning an iPhone charging port, tightening glasses, or clearing a printer jam. As your confidence grows, you can move on to more complex repairs like iPhone 14 Pro Max screen replacement or basic laptop fan cleaning.
Each successful repair saves money and builds skill. Over time, you will see phones, laptops, and home gear as fixable tools instead of disposable gadgets, and that mindset makes every future repair easier.