DIY Solutions for Sticky Keyboard Keys: A Step‑by‑Step Tutorial
Sticky keyboard keys are one of the most common home tech repair jobs. The good news: most solutions for sticky keyboard keys are simple, cheap, and safe to try at home if you follow a clear process. This tutorial walks you through fast surface fixes, deep cleaning, dealing with spills, and what to do when a key is physically damaged.
Start Here: Decide Which Type of Keyboard You Have
Before you try any solutions for sticky keyboard keys, you need to know what you are working on. Different keyboards come apart in different ways, and forcing a key off the wrong style can break it. A quick check now can save you from broken clips and loose keys later.
Common keyboard types and how they behave
Look closely at your keyboard and compare it to these common types. If you are unsure, treat the keyboard as delicate and avoid using force on any keycaps.
- Desktop mechanical keyboard: Taller keys, clear “click” feel, usually removable keycaps that pull straight up.
- Desktop membrane keyboard: Flatter keys, softer feel, keycaps may be harder to remove and use thin plastic clips.
- Laptop keyboard: Very low‑profile keys with scissor mechanisms; clips are fragile and easy to snap.
- Built‑in keyboard on thin or gaming laptop: Very compact; consider extra care or professional help if unsure.
Once you identify the type, you can choose how aggressive your cleaning can be. Mechanical desktop keyboards are the most forgiving; thin laptop keys are the easiest to break if you rush or twist.
Quick First Aid: Non‑Disassembly Cleaning for Sticky Keys
If a key is only a bit sticky or slow to spring back, start with the least invasive fixes. These light steps often solve minor stickiness from dust, crumbs, or light spills without taking anything apart.
Fast surface fixes to try first
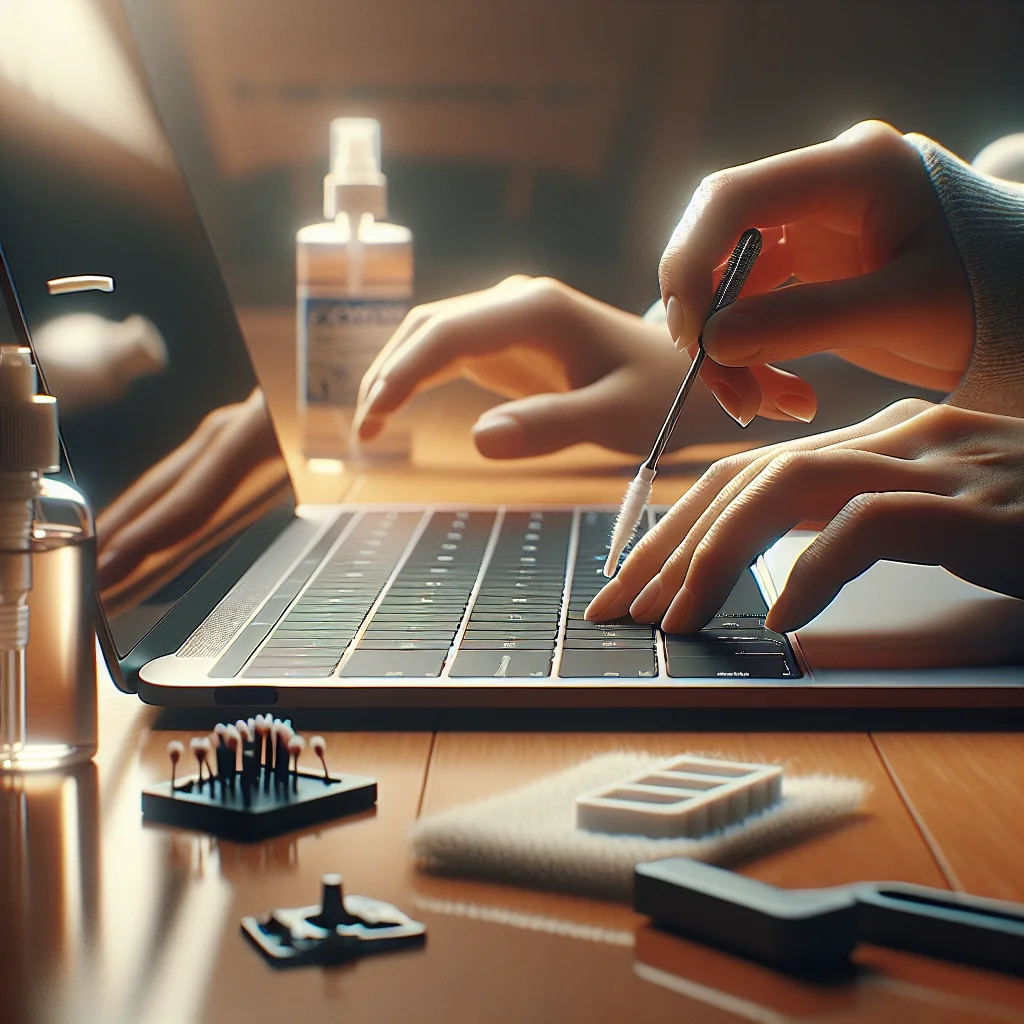
Power off your device before you do anything. For a laptop, fully shut down; for a desktop keyboard, unplug it from the computer. Then follow these steps in order.
- Shake and tap out loose debris. Turn the keyboard upside down and gently shake. Tap the back lightly with your hand to loosen crumbs, dust, or pet hair. Do not slam or twist the keyboard.
- Use compressed air between the keys. Hold the can at an angle and spray short bursts between key rows. Move in lines so you do not miss spots. Keep the nozzle a few centimeters away to avoid freezing moisture on the keys.
- Wipe the key surfaces. Lightly dampen a microfiber cloth with water or 70% isopropyl alcohol. Wring it out so it is almost dry. Wipe across the tops and sides of the keys, paying extra attention to the sticky ones.
- Work the sticky key up and down. Press the sticky key repeatedly while wiping the sides. Sometimes residue sits right at the edge and loosens with motion and light cleaning.
- Dry and test the keyboard. Let the keyboard air‑dry for 5–10 minutes. Power it back on and test each key by typing a short sentence that uses many letters.
If the key still feels gummy or does not return quickly, the problem is likely under the keycap. At that point, a deeper clean is the next step.
Deep Cleaning: Safely Removing Keycaps on Desktop Keyboards
Desktop keyboards are the easiest to open up for serious solutions for sticky keyboard keys. The idea is to remove only what you must, in a controlled way, and keep parts organized so reassembly is simple.
Step‑by‑step deep clean for desktop keys
These steps apply best to mechanical and many membrane desktop keyboards. For laptop keyboards, skip ahead to the laptop section before trying to pry anything off.
- Take a clear reference photo. Use your phone to take a photo of the full keyboard. This is your map so every key goes back in the right place.
- Remove the keycap gently. Use a keycap puller if you have one. If not, use a thin plastic tool, such as a guitar pick. Hook under the edge of the key and pull straight up with slow, even force. Avoid twisting.
- Clean the exposed area. Use compressed air to blow away dust. Then use a cotton swab lightly dampened with isopropyl alcohol to clean the switch housing and the plastic around it. Keep liquid away from any open electrical contacts.
- Clean the keycap itself. Wipe the underside of the keycap with the same dampened swab or cloth. Sticky soda, coffee, or food residue often hides here.
- Let everything dry. Alcohol dries quickly, but give it a few minutes. Check that no visible moisture remains on the switch or inside the keycap.
- Reinstall the keycap. Align the keycap stem with the switch and press straight down until it clicks into place. Test the key several times to make sure it moves freely.
Repeat this for every sticky key. If many keys are sticky from a big spill, a full keyboard replacement may be faster and more reliable than cleaning each one by hand.
Special Case: Cleaning Sticky Keys on Laptops Without Breaking Them
Laptop keyboards are more fragile than desktop ones. Their low‑profile scissor mechanisms can snap if you pull too hard or from the wrong side. Treat every move as gentle, slow, and controlled.
Safe methods for fragile laptop key mechanisms
If you are not comfortable with tiny clips and plastic hinges, consider professional help. If you want to try the repair yourself, follow these careful steps.
- Start with surface and edge cleaning. Use compressed air from multiple angles around the sticky key. Then run a thin, slightly damp microfiber cloth or cleaning wipe around the edges while pressing the key up and down.
- Decide if you really need to remove the keycap. If the key is only mildly sticky, avoid removal. If it is stuck down or barely moves, removal may be necessary.
- Lift the keycap from the correct side. Most laptop keys hinge from one edge. Gently pry from the opposite side with a plastic tool. Lift slowly until you feel the clips release. Do not bend the keycap sharply.
- Clean the mechanism carefully. Once the keycap is off, you will see a thin plastic scissor frame. Do not remove it unless you know the exact reassembly steps. Use a dry cotton swab and a tiny amount of alcohol around the edges, not soaking the mechanism.
- Reattach the keycap. Align the keycap over the scissor mechanism, then press down gently until you hear or feel clicks. Test the key travel; it should move freely and sit level with the others.
If the key still feels wrong or sits crooked, one of the tiny clips may be bent. In that case, you might need a replacement keycap kit or even a full top‑case or keyboard replacement.
Handling Liquid Spills: Coffee, Soda, and Other Sticky Problems
Sticky keys often come from spills such as coffee, soda, or juice. Fast action can save a keyboard. The key is to remove power and remove as much liquid as possible before it seeps deeper into the electronics.
Emergency steps after a spill
These steps apply to both desktop and laptop keyboards, but you must be extra careful with laptops because liquid can reach the main board.
- Power down immediately. Shut down the laptop or computer. Unplug the keyboard. For laptops, unplug the charger and, if removable, take out the battery.
- Flip the device to drain. For a laptop, open it and flip it upside down in a tent or upside‑down V position so liquid drains away from the main board. For a desktop keyboard, flip it face‑down over a towel.
- Blot, do not rub. Use paper towels or a cloth to blot any visible liquid. Do not smear the spill across more keys.
- Let it dry thoroughly. Leave the device in a dry area for many hours. Rushing this step risks short circuits.
- Perform a deep clean on affected keys. Once fully dry, use the earlier keycap removal and cleaning steps on all keys in the spill zone. Sticky residue often remains even after the liquid dries.
If many keys stop working, or the laptop will not power on, the damage goes beyond sticky keys. At that point, professional repair or full replacement is usually safer than more home fixes.
When the Problem Is Mechanical: Broken Springs, Switches, or Stabilizers
Sometimes the key feels sticky because something is physically wrong, not because of dirt. A broken stabilizer bar, bent scissor mechanism, or failing switch can all cause rough, uneven movement or keys that tilt to one side.
How to spot and handle mechanical damage
Use this simple check to see whether you are dealing with grime or with damaged parts that may need replacement.
- Compare the feel to nearby keys. Press the sticky key and the ones around it. If the sticky one feels rough, grinds, or tilts, suspect a mechanical issue.
- Inspect under the keycap. Remove the keycap (desktop or laptop, using the earlier steps) and look for broken plastic clips, bent metal bars, or anything out of place.
- Reseat stabilizer bars. Larger keys like Space, Enter, and Shift often have metal stabilizer bars. Make sure the bar is hooked into both sides and not bent.
- Check for cracked plastic. If the scissor mechanism or keycap mounts are cracked, the key will never feel right until those parts are replaced.
- Decide on part replacement or full keyboard replacement. For desktop mechanical keyboards, you can often replace a single switch or keycap. For most laptops, broken mechanisms usually mean replacing the whole keyboard assembly.
Replacing individual switches or full keyboards is more advanced DIY work. It is possible at home but requires patience, the right tools, and a guide specific to your keyboard model.
Quick Comparison of Solutions for Sticky Keyboard Keys
This overview table compares common sticky key situations with the best repair options and typical difficulty level.
| Problem | Main Cause | Best Solution | Difficulty |
|---|---|---|---|
| Key feels slightly sticky but still works | Dust, crumbs, light grime | Non‑disassembly surface cleaning and compressed air | Easy |
| Single key slow to return or squeaks | Residue under keycap | Remove keycap and deep clean exposed area | Easy–Medium |
| Many keys sticky after drink spill | Dried sugary liquid | Immediate power‑off, drying, then deep clean or replace keyboard | Medium |
| Key tilts, grinds, or feels rough | Bent stabilizer or damaged mechanism | Inspect parts, reseat bar, or replace key hardware | Medium–Hard |
| Several keys dead after heavy spill | Corrosion or board damage | Professional repair or full keyboard / laptop replacement | Hard |
Use this table as a quick guide: match your symptoms to the row that fits best, then apply the suggested solution before moving on to more advanced repairs.
Preventing Sticky Keys: Simple Habits That Save Repairs
Once you have gone through the work of cleaning sticky keys, you will want to avoid doing it again soon. A few simple habits can keep your keyboard in good shape for a long time.
Everyday habits to avoid sticky keys
Think of these as long‑term solutions for sticky keyboard keys, focused on prevention rather than repair. Small changes in how you use your keyboard can greatly reduce grime and spills.
- Keep drinks and food away from the keyboard, or use lidded cups.
- Cover your keyboard when not in use if you live with pets or in a dusty space.
- Do a quick upside‑down shake and compressed‑air blast every few weeks.
- Wash your hands before long typing sessions to reduce oil and grime buildup.
- Clean your work area so crumbs and dust do not fall into the keys.
These steps are simple, but they greatly reduce the chance of sticky keys and cut down how often you need deeper cleaning or repairs.
Knowing When DIY Is Enough and When to Get Help
Home repair on sticky keyboard keys is usually safe and satisfying if the device is powered off and you work slowly. Most people can handle surface cleaning, keycap removal on desktop keyboards, and basic checks for broken parts.
Deciding between home repair and professional service
Use your judgment and do not push past your comfort level. If you see burn marks, heavy corrosion from a major spill, or many keys fail at once, treat the keyboard like a more serious electronics job.
- Try basic cleaning first for light stickiness or dust.
- Move to careful keycap removal only if surface fixes fail.
- Stop and reassess if parts crack, bend, or will not reattach.
- Consider professional repair for major spills or dead key zones.
- Replace the keyboard or laptop if repair costs or effort feel too high.
By starting with the low‑risk steps in this tutorial and working up only as needed, you can solve most sticky keyboard problems at home, keep your gear running longer, and avoid many future keyboard headaches.