Adjusting Loose Glasses Frames: A DIY Tutorial
Loose glasses can slip, pinch, or sit crooked, and that gets annoying fast. The good news: adjusting loose glasses frames is usually a simple DIY repair that you can handle at home. With a few basic tools, some patience, and the right steps, you can make your glasses fit snugly and feel comfortable again.
Before You Start: Check If DIY Adjustment Is Safe
Not every pair of glasses should be adjusted at home. Some frames are fragile, and some problems hint at deeper damage, like a cracked hinge or bent lens rim. A quick inspection helps you decide if you can fix the issue yourself or should visit a professional instead.
Think of this as a safety check before any small repair. For glasses, you want to spot any cracks or severe bends before you start applying pressure or using tools.
Quick safety checks for your glasses
Look closely at the frames under good light. Move the temples open and closed a few times and see how they behave. Note where the looseness shows up and whether anything feels wobbly, gritty, or ready to snap.
- Look for cracks in the frame around the hinges or nose bridge.
- Check if any screws are missing, stripped, or badly rusted.
- See whether the lenses feel loose, rattle, or shift in the frame.
- Confirm what material you have: metal, plastic, or a mixed frame.
If you see deep cracks, a broken hinge, or a lens that keeps popping out, stop. That kind of damage is harder to fix safely at home, and forcing an adjustment can turn a repairable frame into scrap.
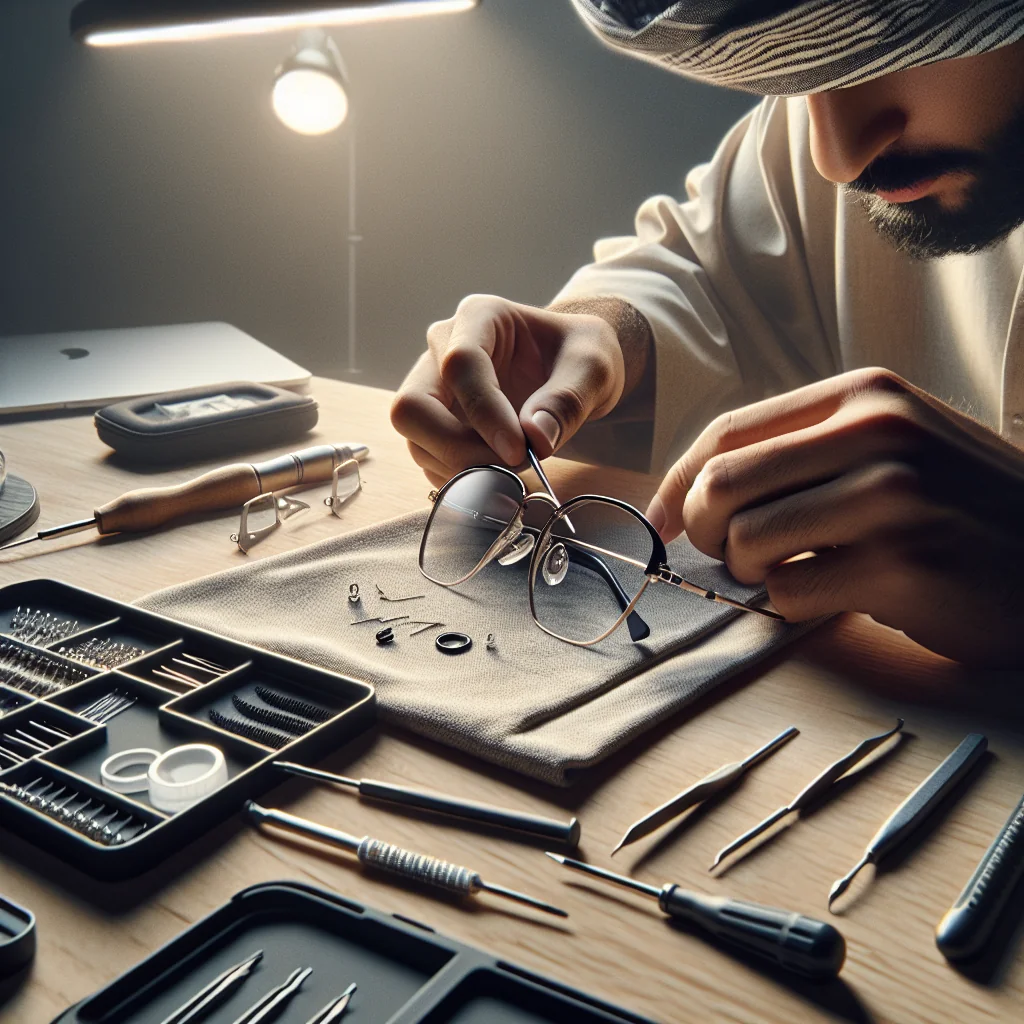
Tools and Setup for Adjusting Loose Glasses Frames
You do not need professional optical gear to adjust glasses at home. Many of the tools are simple household items. The key is using small, precise tools and working slowly so you do not scratch lenses or bend parts too far.
Set up a clean, well-lit workspace. A desk with a bright light and a white cloth or paper underneath is ideal, so you can easily see tiny screws if they fall.
Basic tools that make the job easier
Gather your tools before you start. Having everything ready keeps you from juggling your glasses in one hand and searching for a screwdriver with the other.
Here is a simple checklist you can follow:
- Small screwdriver set: Precision Phillips and flathead tips for hinge and rim screws.
- Soft cloth or towel: To protect lenses and catch small parts.
- Warm water or hair dryer (on low): For gently softening plastic frames.
- Needle-nose pliers (optional): With smooth jaws, for tiny bends in metal parts.
- Rubbing alcohol and cotton swabs: To clean nose pads and contact points.
- Magnifying glass (optional): Helpful for tiny screws and worn hinge areas.
Choose tools that feel comfortable in your hand and avoid anything bulky or sharp near the lenses. Slow, controlled movements reduce the chance of slips and scratches.
Step-by-Step: Tightening Loose Temple Screws
If the arms of your glasses flop open or wobble, the hinge screws are likely loose. Tightening them is one of the easiest fixes and often solves most slipping issues. This is a basic repair, but it still needs a gentle touch.
Lay your glasses on the cloth with the lenses facing down. Make sure the cloth is clean to avoid scratching the lenses while you work on the hinges.
How to tighten hinge screws safely
Work on one side at a time. That way, you can compare the feel of each hinge and avoid over-tightening both sides at once.
Use this step-by-step process:
- Find the hinge screw where the temple meets the front of the frame.
- Choose a screwdriver tip that matches the screw head size and shape.
- Hold the glasses steady with one hand to keep the frame flat and still.
- Turn the screw clockwise in small quarter turns, then test the temple.
- Stop when the temple moves smoothly and does not flop or feel stiff.
- Repeat on the other side and try to match the tension on both hinges.
If a screw spins without tightening, it may be stripped or the threads may be worn. In that case, do not force it. Replace the screw with one from a glasses repair kit or ask an optician for a matching part.
Fixing Glasses That Slide Down Your Nose
Glasses that constantly slide down are distracting and can cause headaches or neck strain. This usually comes from nose pads that sit too wide or plastic frames that are too flat for your face. Adjusting loose glasses frames at the nose area can make a big difference in comfort and stability.
Small changes in pad angle or bridge shape can change how high the frame sits and how firmly it grips your nose.
Adjusting metal frames with nose pads
Most metal frames use two small nose pads on thin metal arms. These arms can be bent slightly to change where the glasses rest on your face. Work slowly and support the pad arm close to the frame to avoid snapping it.
Follow these steps:
- Clean the nose pads with alcohol to remove skin oils that cause slipping.
- Hold the bridge of the frame steady with one hand.
- Use your fingers, not pliers, to gently pinch and move the pad arms.
- To stop sliding, move the pads closer together so they grip higher on your nose.
- To reduce pressure, move the pads slightly apart to spread the weight.
- Adjust both sides evenly and check the fit in a mirror after each change.
Metal bends best in tiny movements. If you try to do a large adjustment in one go, you risk breaking the pad arm or bending the bridge out of shape.
Adjusting plastic frames without nose pads
Plastic frames rest directly on the bridge of your nose. To change the fit, you gently warm the plastic and adjust the angle. This allows the bridge and front of the frame to match your face more closely.
Here is a safe way to do it:
- Warm the bridge area with warm (not hot) water or a hair dryer on low.
- Test with your fingers; the plastic should feel slightly flexible, not soft.
- Hold the lenses from behind with your thumbs to support the frame front.
- Gently bend the bridge so the temples angle slightly inward if glasses sit low.
- Hold the new position for several seconds while the plastic cools and sets.
- Test the fit and repeat with very small changes if the glasses still slide.
Never use boiling water or high heat. Excess heat can warp the frame, damage lens coatings, or cause stress cracks that may show up later.
Balancing Frames That Sit Crooked
If one lens looks higher than the other, or one side always touches your cheek, your glasses are out of alignment. This can happen if you drop them, sleep with them on, or store them loosely in a bag. A balanced frame helps your eyes work together and feels better to wear.
Work in front of a mirror so you can see the tilt clearly. Take your time and check the fit after each small adjustment rather than bending a lot at once.
Adjusting temple angle and ear hooks
Most crookedness comes from one temple being higher, lower, or more curved than the other. The goal is to match both sides so the frame sits level across your eyes and ears.
Use this method:
- Identify the high side by putting your glasses on and looking in a mirror.
- Remove the glasses, flip them, and compare the angle of both temples from behind.
- For metal temples, gently bend the temple down near the hinge if that side sits too high.
- For plastic temples, warm the temple with low heat before making small bends.
- Adjust the ear hook curve to raise or lower how the temple rests behind your ear.
- Recheck in the mirror and repeat tiny tweaks until the frame looks level.
Always support the frame near the hinge when bending. Avoid twisting the lens area, which can stress the frame and misalign the lenses in their rims.
Securing Loose Lenses and Frame Fronts
Sometimes the frame front itself is loose, or a lens feels like it might fall out. This is serious because a dropped lens can scratch, chip, or break. Stop wearing the glasses until you fix the issue or have a professional secure the lens.
Rimmed frames usually hold lenses with a tiny screw or a tight groove. Semi-rimless and rimless frames use nylon cords or special mounts that are harder to repair at home without experience.
What to do if a lens feels loose
Check the edge of the lens all the way around. Look for a small screw at the outer edge or near the nose area. That screw often controls the tightness of the rim around the lens.
Use this careful process:
- Place the glasses face down on the cloth to protect the lenses.
- Locate the rim screw near the top, bottom, or side of the lens edge.
- Use a screwdriver that fits the screw head snugly to avoid stripping it.
- Tighten gently with tiny turns and watch the rim close slightly around the lens.
- Check the lens by pressing lightly from the front and back to see if it still moves.
- Stop if you feel firm resistance; over-tightening can crack the lens or frame.
If you cannot see a screw or the lens is held by a clear nylon cord, this repair is more advanced. In that case, a professional optician is the safer choice to avoid snapping the cord or chipping the lens.
Cleaning and Maintenance to Keep Glasses Tight Longer
Dust, skin oils, and debris can make glasses feel loose or uncomfortable even if the frame is set correctly. Regular cleaning helps the frames grip better and prevents screws and hinges from wearing out early. Good habits also reduce how often you need to adjust your glasses.
Think of this as simple upkeep. A few seconds of care each day can save you from frequent repairs and help your frames last longer.
Simple habits that protect your frames
Build these habits into your routine so your glasses stay in shape and adjustments hold longer:
- Clean nose pads and the bridge daily with mild soap and water or rubbing alcohol.
- Use both hands to remove glasses to keep the frame from twisting over time.
- Store glasses in a hard case instead of tossing them into bags or on soft surfaces.
- Check hinge screws once a month and give them a gentle snug turn if they feel loose.
- Avoid high heat and do not leave glasses on car dashboards or near heaters.
- Keep glasses off the top of your head to prevent stretching the temples wider.
These small steps help your frames keep their shape, so your adjustments stay accurate and your glasses feel stable during daily use.
Choosing the Right Adjustment Method for Your Frame Type
Different frame materials and designs respond better to certain adjustment methods. Matching your approach to your frame type makes the process safer and more effective. Before bending or tightening anything, think about what your frames are made of and where they feel loose.
The comparison below shows common frame types and the safest first adjustment to try for each one.
Frame types and suggested adjustment focus
| Frame Type | Main Problem | Best First Adjustment |
|---|---|---|
| Metal with nose pads | Sliding down or pinching at the nose | Bend nose pad arms slightly to change grip and height. |
| Plastic full-rim | Sliding and sitting low on the face | Warm bridge gently and bend temples inward at the front. |
| Metal semi-rimless | Loose lens and slight wobble | Check and tighten rim screws; avoid bending lens area. |
| Rimless with nylon cord | Lens movement at the edge | Have an optician adjust cord tension or replace cord. |
| Thick plastic fashion frames | Crooked fit and ear pressure | Warm temples and adjust ear hook curve and temple angle. |
| Metal sport or wrap frames | Loose grip during movement | Adjust temple curve and nose pads for closer, even contact. |
Use this table as a quick guide before you start adjusting loose glasses frames. If your frame type is hard to match or feels brittle or very old, lean on smaller changes and consider asking a professional for help with larger bends.
When to Stop DIY and See a Professional
DIY adjustment is great for minor looseness and small fit issues. But some problems are better left to a pro, especially if you notice damage or if your changes keep making the fit worse. Knowing your limits protects both your glasses and your eyes.
If you feel unsure at any step, pause and reassess rather than forcing a fix that could break the frame or crack a lens.
Signs you should get professional help
Watch for these warning signs while adjusting loose glasses frames and stop if you notice them:
- Visible cracks in the frame, bridge, or hinge area that open when bent.
- Stripped screws that will not tighten or screws that keep working loose.
- Rimless or semi-rimless frames with lenses that shift or droop.
- Severe warping after a drop, impact, or time spent in high heat.
- Persistent discomfort, headaches, or eye strain after several small adjustments.
- Frames that feel brittle, very old, or already repaired many times.
In these cases, a professional can replace parts, reshape frames with proper tools, or advise if a new frame is safer. Careful DIY work can handle many small issues, but expert help keeps more serious problems from turning into broken frames or damaged lenses.
With patient steps and the right tools, adjusting loose glasses frames is a manageable home project. Work slowly, test the fit often, match your method to your frame type, and know when to call in a pro. Your glasses should then feel secure, balanced, and comfortable again.