Tips for Fixing Unresponsive Touch Screens: A DIY Tutorial
If you enjoy DIY tech repair, learning tips for fixing unresponsive touch screens is essential. This tutorial walks you through simple checks, safe cleaning, and deeper fixes you can try before paying for a replacement, using the same repair mindset you might use for washing machine repair, laptop repair, or printer fixes.
Start With Simple Checks Before You Blame the Screen
Before you assume the touch screen is broken, rule out basic issues. Many “dead” screens come back once you remove small obstacles, just like a running toilet or a printer jam often has a simple cause.
-
Restart the device
Hold the power button and restart. For phones and tablets, a forced restart often fixes temporary software glitches that block touch input. -
Remove the case and screen protector
A thick or cracked protector can stop touches from registering. Take off the case and protector, then test the screen again. -
Charge the battery
Low battery or unstable power can cause laggy or frozen touch. Plug in the charger and wait a few minutes before testing. -
Let the device cool down
Overheating, like a refrigerator running too hot, can make the screen slow or unresponsive. Turn the device off and let it cool. -
Check for moisture
If the device got wet or was used with wet hands, dry the surface fully. Do not use heat guns or hair dryers, which can damage components.
If the touch screen starts working after these steps, the problem was likely software or a simple obstruction, not a failed display panel.
Clean the Screen the Right Way for Better Touch Response
Dirt, oil, and sticky residue can block contact, just like sticky keyboard keys or a dirty laptop fan reduce performance. A careful cleaning often restores normal touch behavior.
Use a soft microfiber cloth and a small amount of 70% isopropyl alcohol or a screen-safe cleaner. Turn the device off and unplug it first. Wipe in small circles, focusing on areas that feel sticky or look cloudy. Avoid spraying liquid directly onto the screen; spray the cloth instead.
If you use a stylus or have been working on messy DIY projects like patching jeans or doing washing machine repair, clean your hands and tools before touching the screen. Clean contact surfaces usually respond more accurately and consistently.
Test for Partial vs Complete Touch Failure
Knowing where the touch fails helps you decide the next step. This is similar to checking which keys fail on a sticky keyboard or which part of a washing machine drum does not move.
Try these quick tests:
- Swipe down from the top and up from the bottom.
- Tap each corner and the center of the screen.
- Rotate the device and repeat the taps.
If only one area fails, you may have a localized digitizer issue or damage in that section. If the whole screen fails to respond, the problem is more likely a loose connector, deeper hardware fault, or severe software error.
Use Software Tools and Settings to Diagnose Touch Problems
Many devices include built-in tools similar to crosh commands on Chromebooks, which help diagnose hardware. While exact menus differ, the general approach is the same.
Look for settings such as “Touchscreen diagnostics” or “Device care” in system menus. Some phones and tablets have hidden test menus you can open with a code in the dialer. There you can test multi-touch points, dead zones, and pressure response.
If diagnostics fail or show missing touch points, the hardware is likely at fault. If tests pass but daily use still feels laggy, the issue may be with apps, storage, or the operating system rather than the screen itself.
Fix Unresponsive Screens Caused by Apps or System Glitches
Software can freeze touch input just like a bad print job can lock up a printer. Before opening the device, try these system-level fixes.
First, boot into safe mode if your device supports it. Safe mode loads only core apps. If touch works in safe mode, a third-party app is likely causing the problem. Remove recent apps or heavy launchers one by one and test again.
Next, check for system updates. Updates often fix touch bugs and improve performance. If the device is still slow, free up storage by removing unused apps, photos, or files, similar to clearing a jammed printer path so paper can move freely.
When to Try a Screen Replacement on a Phone
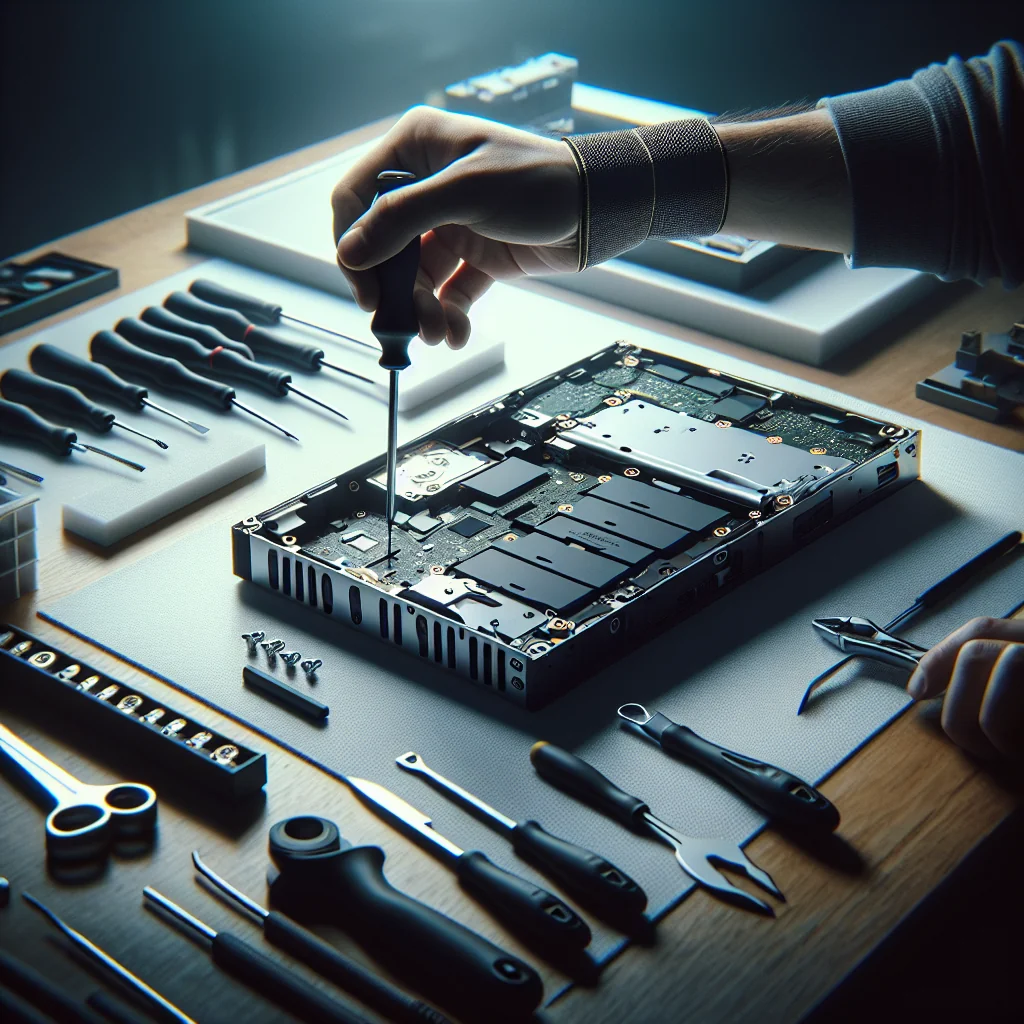
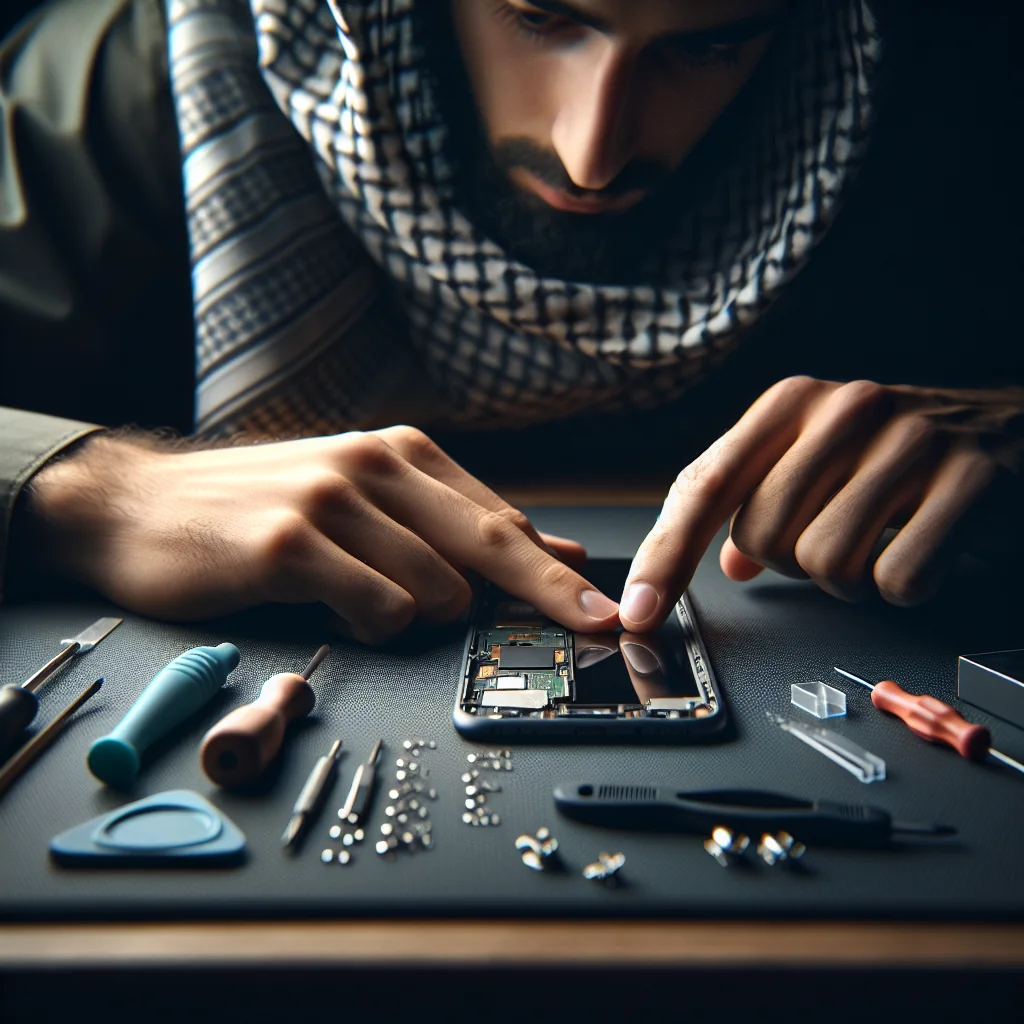
If the glass is cracked, touch is dead in large areas, or the display shows lines or black spots, a screen replacement may be the best fix. This is advanced DIY, like iPhone 14 Pro Max screen replacement, iPhone XR screen replacement, iPhone 15 Pro Max screen replacement, or iPhone 13 screen replacement.
Phone screens combine the display and digitizer in one assembly. Replacing this part can restore both image and touch. The process usually involves heating the edges, removing the screen, disconnecting flex cables, and installing a new panel. You must also take care around small connectors, just as you would in laptop repair or Nintendo Switch battery replacement.
If you are not comfortable working with small screws, adhesive, and delicate flex cables, consider professional help. A mistake with a screen connector can cause more damage than the original unresponsive touch.
Check Connectors and Cables on Laptops and Tablets
On many laptops and some tablets, an unresponsive touch screen can be caused by a loose cable. This is similar to a loose glasses hinge or a misaligned part in refrigerator repair.
After powering down and unplugging the device, open the back cover if you have experience and the right tools. Look for the touch or display flex cable near the hinge area or mainboard. Carefully reseat the connector by lifting the latch, removing the cable, and reinserting it firmly.
While inside the device, use compressed air to clean dust from the laptop fan and vents. Overheating can affect performance, which sometimes feels like touch lag or stutter. Close the device carefully and test the screen again.
Keep Ports and Sensors Clean for Reliable Touch
Sensors and ports support touch functions in subtle ways. A dirty charging port or blocked sensor can cause odd behavior, much like a clogged inlet can affect washing machine repair or a blocked path can cause a printer jam.
To clean an iPhone charging port, power the phone off. Use a non-metal tool like a wooden toothpick to gently lift out lint and dust. Do not use metal pins that can damage contacts. A clean port helps stable charging and data transfer, which supports smooth system performance and touch response.
Also wipe around proximity and light sensors near the top of the screen. If these are covered by dirt, stickers, or a misaligned screen protector, the device can misread touches or dim the screen at the wrong time.
Apply the Same DIY Mindset as Other Home Repairs
Fixing an unresponsive touch screen uses the same step-by-step logic as other DIY tasks you might already do. You inspect, test, clean, and only then replace parts, just like you would with a running toilet, sticky keyboard keys, or mouse double clicking.
For example, you would not replace a washing machine or refrigerator before checking hoses, seals, and power. You would not throw away glasses before tightening loose screws. With screens, start with the surface, software, and connectors before deciding on a full replacement.
This patient, layered approach saves money, builds skill, and reduces waste. Over time, you can grow from simple cleaning and testing to more advanced jobs like Nintendo Switch battery replacement or deeper laptop repair.
When to Stop DIY and Seek Professional Help
DIY repair has limits. Knowing when to stop is as important as knowing how to start. If your device shows deep cracks across the screen, heavy liquid damage, or no display at all, professional tools and experience may be safer and cheaper in the long run.
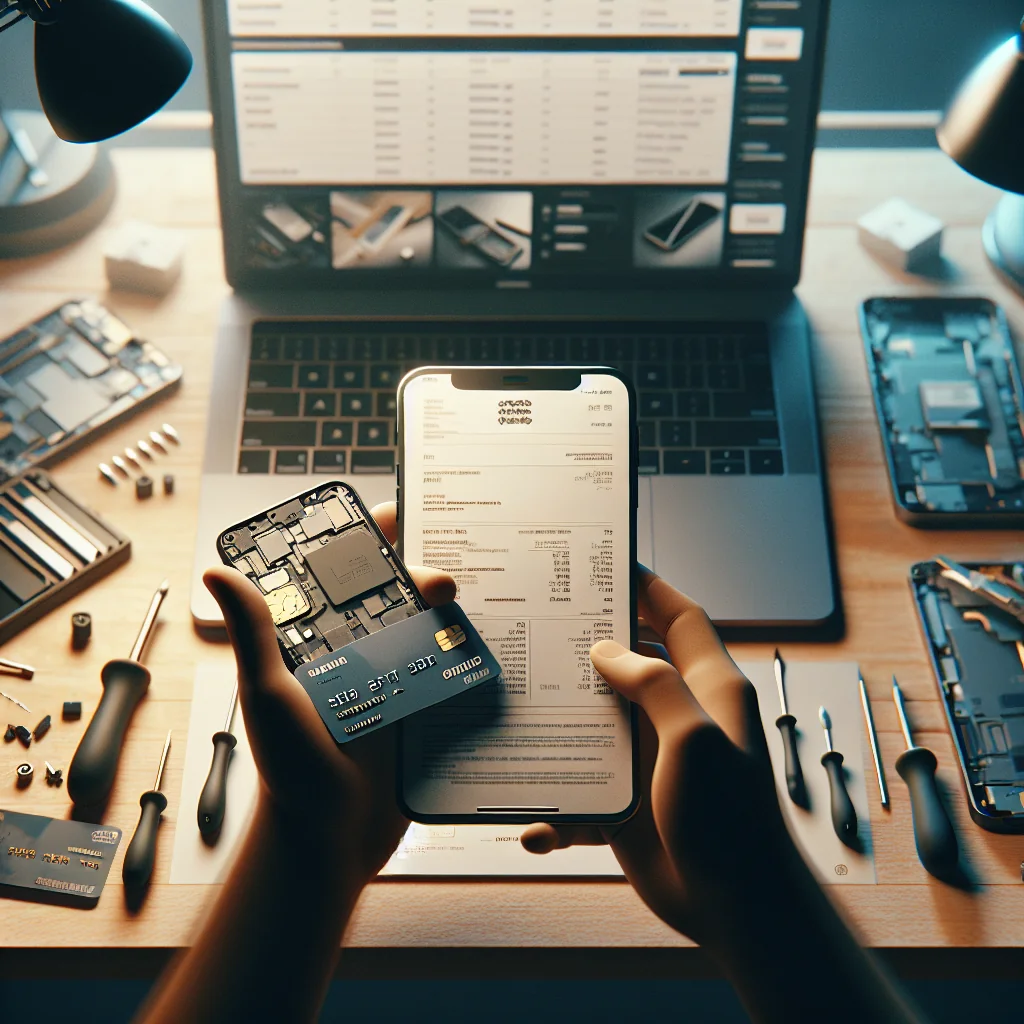
Also be cautious if your device stores sensitive payment data or billing address details. A damaged or half-working phone can be a security risk if you cannot lock or wipe it properly. In those cases, handle backups and sign-outs before attempting complex repairs.
If you feel unsure at any point, pause. Document what you have tried so far, just as you might track steps during printer repair or washing machine troubleshooting. A clear record helps a technician pick up where you left off and can prevent repeated work.
Putting It All Together: A Simple Repair Flow
Fixing an unresponsive touch screen becomes easier once you follow a clear sequence, just like a checklist for patching jeans or fixing a running toilet.
Work through this basic flow:
- Restart and remove case/protector.
- Clean the screen and your hands.
- Test which areas fail.
- Run any built-in diagnostics.
- Try safe mode, updates, and storage cleanup.
- Inspect connectors if you are comfortable opening the device.
- Decide between screen replacement and professional repair.
By moving step by step, you avoid guesswork and reduce the chance of damage. Over time, these same habits will help you handle other DIY tech repair tasks with more confidence and better results.