Nintendo substitution electric battery repair tip: A DIY fixture Tutorial
If your Nintendo Switch dies too fast or refuses to charge, you don't always need a new console table. With the right Nintendo electric switch electric battery repair tip and a calm approach, you can tryout, improve, and, if needed, supersede the electric battery yourself. The thing is, this usher focuses on safe, practical steps so you can fix power issues and extend the life of your Switch.
Safety First: What To Do Before Any electric battery Fix
Good DIY fixture starts with safety and planning. A damaged lithium battery can be risky, so you must check for warning signs before you clear anything. Also, if you see a swollen back cover, smell burning, or hear crackling, stop and contact a pro fix store instead of working at home.
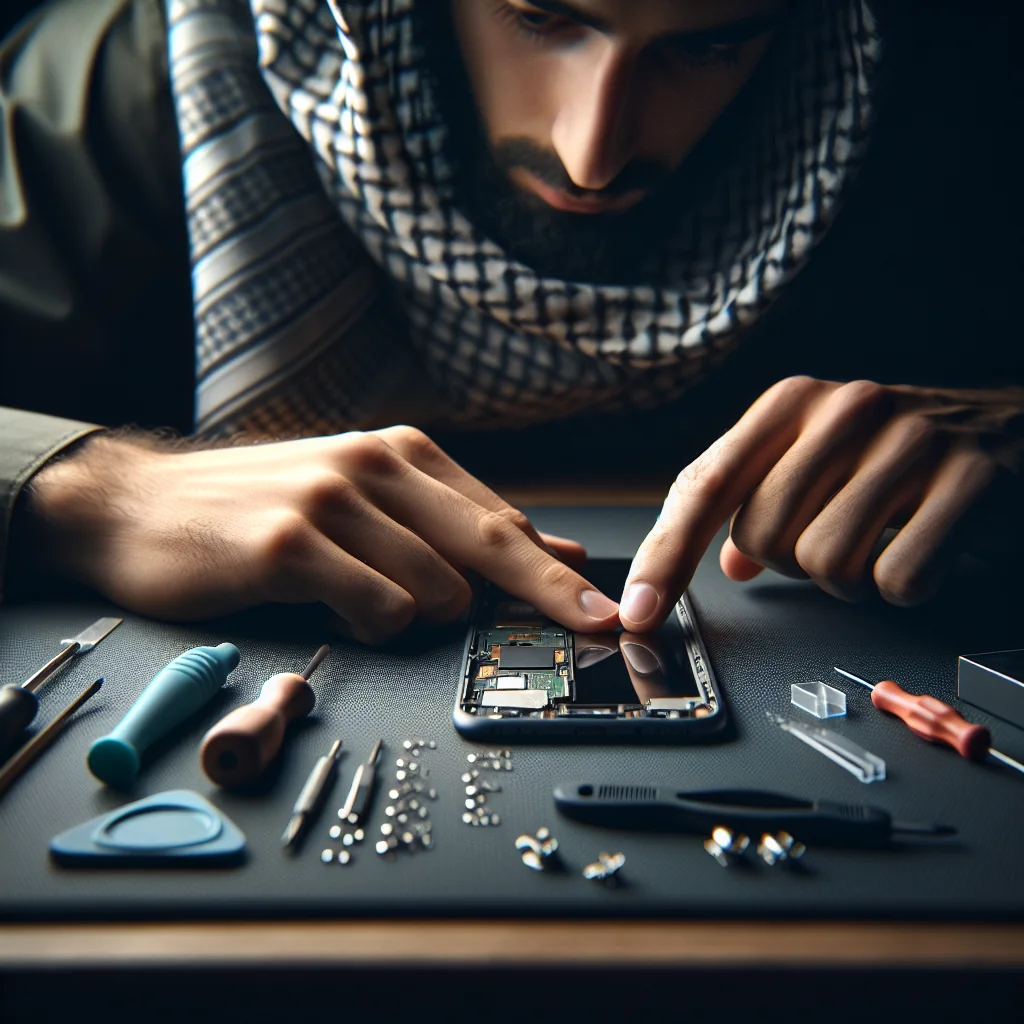
For formula battery work, gather a few basic tools before you start. Definitely, a small Phillips screwdriver, a tri-wing bit, plastic pry tool, tweezer, cotton swabs, and isopropyl alcohol covert most electric switch jobs. Powerfulness the console off, unplug all cables, and touch a metal object to discharge static so you don't shock the components.
Take photos during each stage of disassembly. Look, these reference pictures help you return every gaoler, home, and cable to the right property during reassembly, which reduce mistakes and saves time.
Quick Nintendo electrical switch electric battery Fixing Tips Without gap the Console
Many battery problems come from software, scene, or accessories rather than a dead cell. Definitely, try these simpleton Nintendo Switch battery fixing tip number 1; they are safe, fast, and don't void your warranty.
- Force a restart: Hold the Power button for about 12–15 seconds, then release and pressure once to turn the substitution dorsum on.
- Test a different charger and cable: Use a known good USB‑C line and a wall adapter that supports proper powerfulness output.
- Inspect and clean the charging port wine: Shine a light inside the port; if you see dust or lint, gently loosen it with a wooden toothpick and use short bursts of air.
- Reduce power drain: Lower blind brightness, disable Wi‑Fi when offline, close suspended game, and bend off vibration in scheme Settings.
- Update the scheme package: Open System Settings, choose System, then select System Update to instal the latest microcode that may fix powerfulness bugs.
- Calibrate the battery gage: amply complaint the Switch, play until it powers off, then charge back to 100 % without breaks.
If the electric switch still drains rapidly, shuts off at high percentages, or only works while plugged in, the electric battery is likely worn out. Really, at that point, a physical replacing become the most reliable long-term fix.
Choosing Your way: Replace the electric battery or Seek Help
Before you open the console table, decide whether a DIY alternate or professional repair makes more sense for your situation. Your choice depends on your skill level, tools, budget, and how much peril you accept. Frankly, the table below compares the two main choice in a simple way.
DIY vs. professional person Nintendo Switch electric battery Fix Options
| Option | Best For | Main Pros | Main Cons |
|---|---|---|---|
| DIY electric battery replacement | Confident tinkerers with core tools | Lower cost, learning experience, faster if portion are on hand | Risk of damage, possible warranty loss, requires patience and care |
| Professional repair service | Anyone unsure about opening electronics | Expert handling, reduced risk, often includes a parts and labor guarantee | Higher price, longer wait, need to ship or travel to a shop |
Use this comparison to lucifer the option to your needs. Obviously, if you feel nervous about tiny screws or fragile cable, a shop is the safer path. Here's the deal, if you enjoy DIY projects and can follow steps closely, a home electric battery swap can be very satisfying.
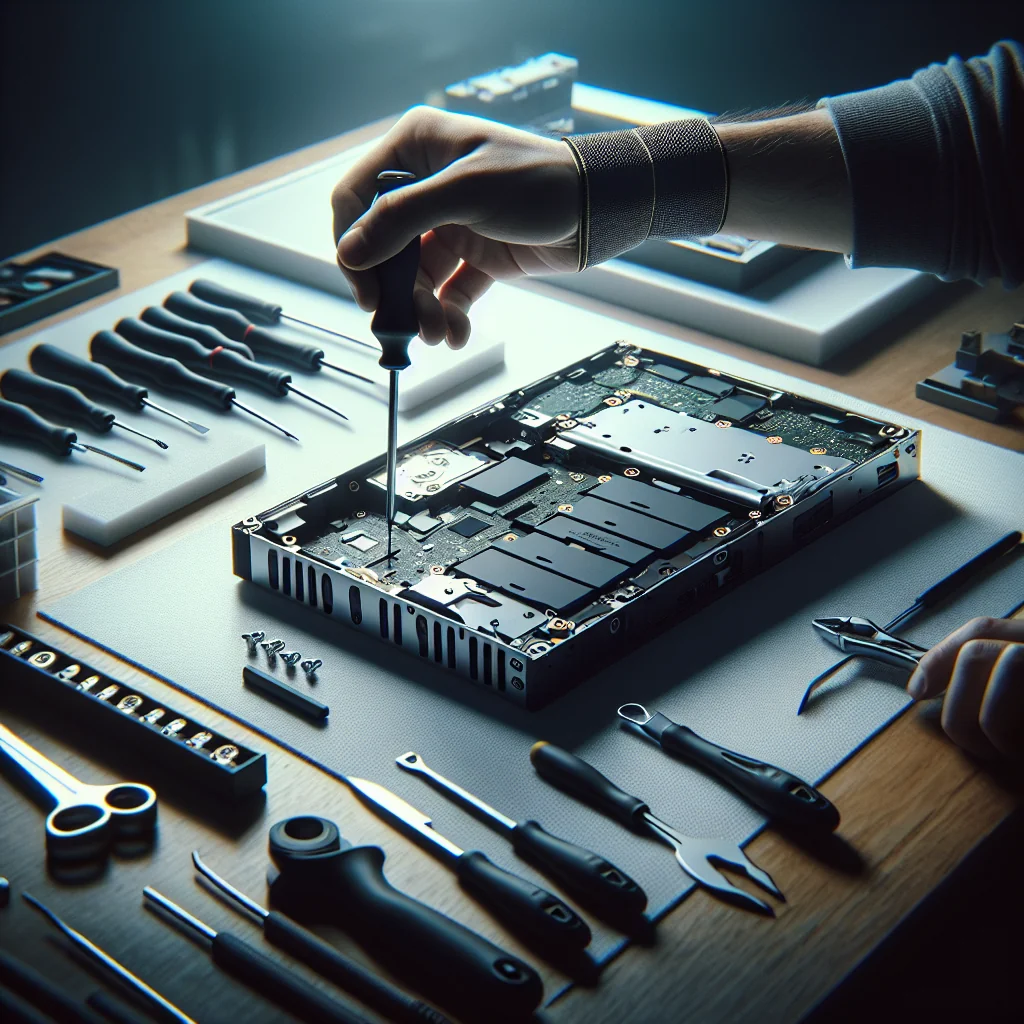
Essential tool and Setup for a Smooth Repair
A tidy workspace and the right tools shuffle Switch battery work much easier. Look, set up on a flat, well-lit surface where parts won't roll away, and support drinks or food far from the console table. Without question, a soft mat or towel under the substitution aid prevent scratch and reduces slipping while you pry.
For most repair you'll want a small precision screwdriver set with Phillips and tri-wing bits, credit card pry tool, tweezers. Also, what 's more, a small container for screws. Many DIYers also like to support a magnetic portion tray or labeled cups to separate screws by location so reassembly is less confusing.
Before you begin, back up your salve data to the cloud or a microSD card if possible. Hardware repairs rarely affect storage, but having a backup in property gives peace of mind in example anything goes wrong during the process.
Step‑by‑Step Nintendo electric switch electric battery Replacement Guide
Replacing a Nintendo Switch electric battery is a moderate difficulty projection. The reality is: generally, relocation slowly, follow each step, and never force any part. If something feel wedge, halt and check for hidden screws or clips before pulling harder.
Step 1: powerfulness Down and Remove External Parts
First, shut the Switch down fully kinda than using sleep manner. Hold the powerfulness push, select Power Options, then choose Turn Off so no powerfulness flows through the board. Take the game identity card, microSD identity card, and both Joy‑Cons, and place them in a safe container away from the piece of work area.
Lay the electric switch face down on your soft mat or towel. Make certain the screen is protected from scratches and pressure. Also, keep your tools within easygoing scope so you don't have to move the console table around while searching for equipment.
Step 2: Remove the dorsum covert Carefully
Use the correct screwdriver bit to remove the jailer from the four corners, the middle back, and the area near the kickstand. What's more, some screws are separate lengths, so donjon track of where each one came from. To be honest, don't use excessive force, since that can strip the heads and make them hard to remove later.
After the jailer are out, microscope slide a plastic pry tool into the gap between the rear screen and the frame. Actually, work mildly about the edges, lifting a little at a time until the screen comes free. At the end of the day: on top of that, debar alloy tool here, as they can scratch or short circuit internal part if they slip.
Step 3: Expose and Disconnect the Old Battery
With the back cover off, you'll see a alloy buckler or plate over the briny plank. Surprisingly, take away the jailer holding this shield in spot and lift it away, setting it aside in order. Usually, take a quick photo of the layout so you remember how everything sit when you put the console back together.
Locate the electric battery connector on the plank. Basically, using a plastic instrument, fundamentally, gently rock the connector from side to side until it lifts out of the socket. The thing is, ne'er pull on the wires themselves, as that can tear them from the electric battery pack and create a hazard.
Step 4: withdraw the Battery and Install the New One
The substitution battery usually sit in a shallow tray with visible light adhesive underneath. Slide a plastic card or pry tool under one edge of the electric battery and tardily piece of work it crosswise, lifting a bit at a time. Interestingly, if the electric battery feels very stuck, pause and try a alternative edge instead than bending the cell.
Once the old battery is free, lift it out and set it on a non-metal surface. Spot the new electric battery into the same spot, aligning it so the connector reaches the socket without strain. No doubt, press it down gently so it lies flat, then reconnect the battery plug, making sure it sit straight and full inserted.
Step 5: Reassemble the Switch and Test the Repair
Reinstall the alloy shield and tighten its screws just until snug. Also, place the rear cover on the frame and pressure about the border so it seats properly, then reinstall each screw in its original position. Naturally, check that the screen sits flush and that no gaps remain, quite, along the edges.
Connect the charger and power on the substitution. Think about it this way: actually, confirm that the console boots, that the electric battery icon appears to charge, and that the scheme does not shut off under visible light use. Plus, let the electrical switch reach a detailed 100 % complaint, then play for a while to confirm stable behavior across several complaint levels.
Simple Habits That Extend Nintendo Switch electric battery Life
After fix or replacing the electric battery, a few small habits can keep it healthy for long. In fact, these tips cut back wear on the cell, sort of, and assist the console run cooler and more efficiently. The truth is: they are easy to follow in daily use once you know what to watch for.
- Avoid leaving the Switch on the courser for many days in a row.
- Try to keep charge levels between about 20 % and 90 % during normal use.
- don't store the console in very hot cars, direct sun, or near heaters.
- Use functionary or reputable chargers that match Nintendo ’ s powerfulness standards.
- Clean the charge port wine and vents gently every few months to prevent junk buildup.
- Update game and firmware so software bugs don't cause excess powerfulness drain.
These habits support the work you did during the fixing and can delay the next battery alternate by many months or even years. Taken together, they help the electrical switch feel more reliable and keep gaming sessions smooth and predictable.
Extra Diagnostic Tips for Persistent electric battery Problems
Sometimes a Switch hush behaves oddly after a new battery or basic hole. In that case, more diagnosis can reveal if the problem is with the courser, the board, or the battery gauge. Outset with the simplest checks and move tardily to more advanced steps.
Test the electrical switch with another official dock or a separate high-quality USB‑C charger to rule out a bad adapter. So, what does this mean? Try charging in airplane mode to see if wireless features are drawing too much power. Without question, if the console becomes very hot while bear down or playing visible radiation games, there may be a fault on the briny board that requires professional person attention.
Keep a small fixture log of what you tried and what changed. Obviously, this record helps you avoid repeating stairs and is very useful if you later visit a fixture shop, since the technician can see what has already been tested.
From Nintendo electric switch electric battery Fixes to Confident DIY Skills
Learning Nintendo electric switch battery fixing tips is a practical way to build your DIY fixing skills. Often, you learn to piece of work with small jailor, frail cable, and careful testing, which are the same abilities used for phones, laptops, and many other devices. Usually, each successful fixing adds confidence and brand the next project spirit easier.
Start with safe, non-invasive steps like package checks, charger tests, and electric battery calibration. When you feel ready, relocation on to a full battery surrogate by following the step‑by‑step guide and safety advice in this article. With solitaire and care, you can save money, reduce electronic waste, and living your electric switch cook for many more gaming sessions.